Having three kiddos, I have seen it all when it comes to food aversions, likes and dislikes, and just plain old desires around food. My firstborn was easy. She loved everything we put in front of her and ate her balanced fruit and vegetable daily allotment. Our middle daughter was picky with a capital P and we had to get EXTREMELY creative to ger her to eat her fruits and veggies. For example, I made smoothies with many different fruits and a cup of spinach just to get her veggies in her. Every day was a struggle and now that she is a bit older (almost 6) she enjoys her balanced diet of fruits and veggies…without the typical tantrum she threw when she was 2. My third daughter is also a picky eater and will throw a tantrum if she doesn’t get what she wants. I am finding it quite irritating and have come up with some yummy fruit and veggie ideas that she will tolerate. I am praying she takes the same path as my middle child and grows to enjoy her veggies.
I am assuming there are MANY parents out there in the same boat so I wanted to share some recipes my three kiddos LOVE. I wish I could take credit for them, but I have found them in various places on the internet. Please excuse my lack of siting who posted the recipe I will share as I have copied and pasted them into my own files and have left the site info behind.
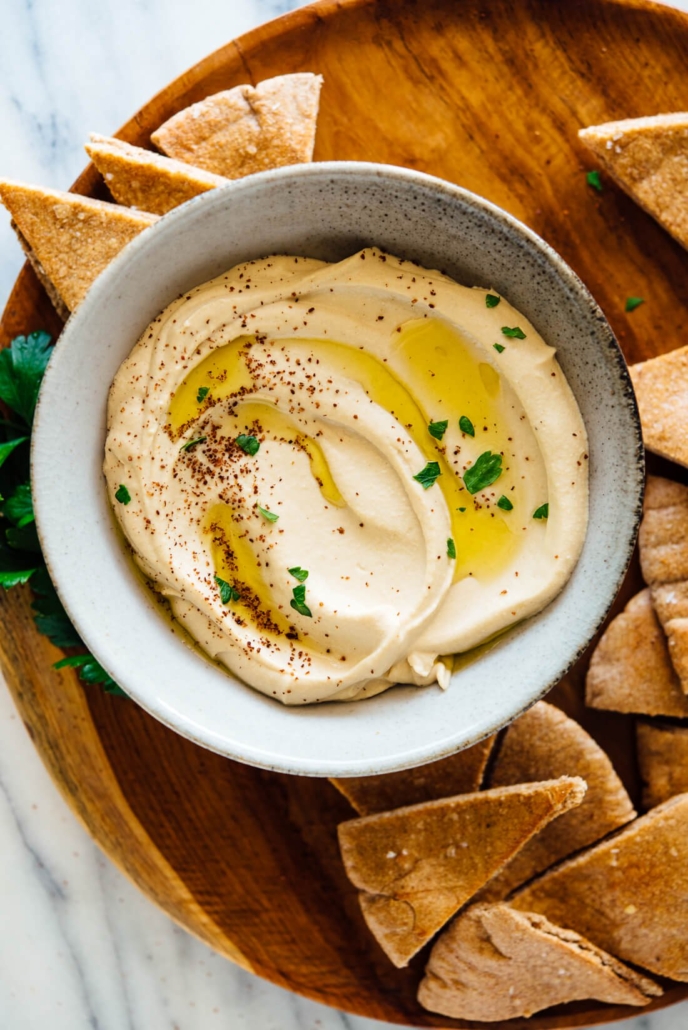
Good ole Hummus and Veggies. My kids can’t taste celery when smeared with hummus. Sometimes I just give them hummus and spoon and they LOVE it! Here is my homemade hummus recipe:
INGREDIENTS
- 1 can (15 ounces) chickpeas, rinsed and drained, or 1 ½ cups cooked chickpeas
- ½ teaspoon baking soda (if you’re using canned chickpeas)
- ¼ cup lemon juice (from 1 ½ to 2 lemons), more to taste
- 1 medium-to-large clove garlic, roughly chopped
- ½ teaspoon fine sea salt, to taste
- ½ cup tahini
- 2 to 4 tablespoons ice water, more as needed
- ½ teaspoon ground cumin
- 1 tablespoon extra-virgin olive oil
- Any of the following garnishes: drizzle oolive oil or zhoug sauce, sprinkle of ground sumac or paprika, chopped fresh parsley
INSTRUCTIONS
- Place the chickpeas in a medium saucepan and add the baking soda. Cover the chickpeas by several inches of water, then bring the mixture to a boil over high heat. Continue boiling, reducing heat if necessary to prevent overflow, for about 20 minutes, or until the chickpeas look bloated, their skins are falling off, and they’re quite soft. In a fine-mesh strainer, drain the chickpeas and run cool water over them for about 30 seconds. Set aside (no need to peel the chickpeas for this recipe!).
- Meanwhile, in a food processor or high-powered blender, combine the lemon juice, garlic and salt. Process until the garlic is very finely chopped, then let the mixture rest so the garlic flavor can mellow, ideally 10 minutes or longer.
- Add the tahini to the food processor and blend until the mixture is thick and creamy, stopping to scrape down any tahini stuck to the sides and bottom of the processor as necessary.
- While running the food processor, drizzle in 2 tablespoons ice water. Scrape down the food processor, and blend until the mixture is ultra smooth, pale and creamy. (If your tahini was extra-thick to begin with, you might need to add 1 to 2 tablespoons more ice water.)
- Add the cumin and the drained, over-cooked chickpeas to the food processor. While blending, drizzle in the olive oil. Blend until the mixture is super smooth, scraping down the sides of the processor as necessary, about 2 minutes. Add more ice water by the tablespoon if necessary to achieve a super creamy texture.
- Taste, and adjust as necessary—I almost always add another ¼ teaspoon salt for more overall flavor and another tablespoon of lemon juice for extra zing.
- Scrape the hummus into a serving bowl or platter, and use a spoon to create nice swooshes on top. Top with garnishes of your choice, and serve. Leftover hummus keeps well in the refrigerator, covered, for up to 1 week.
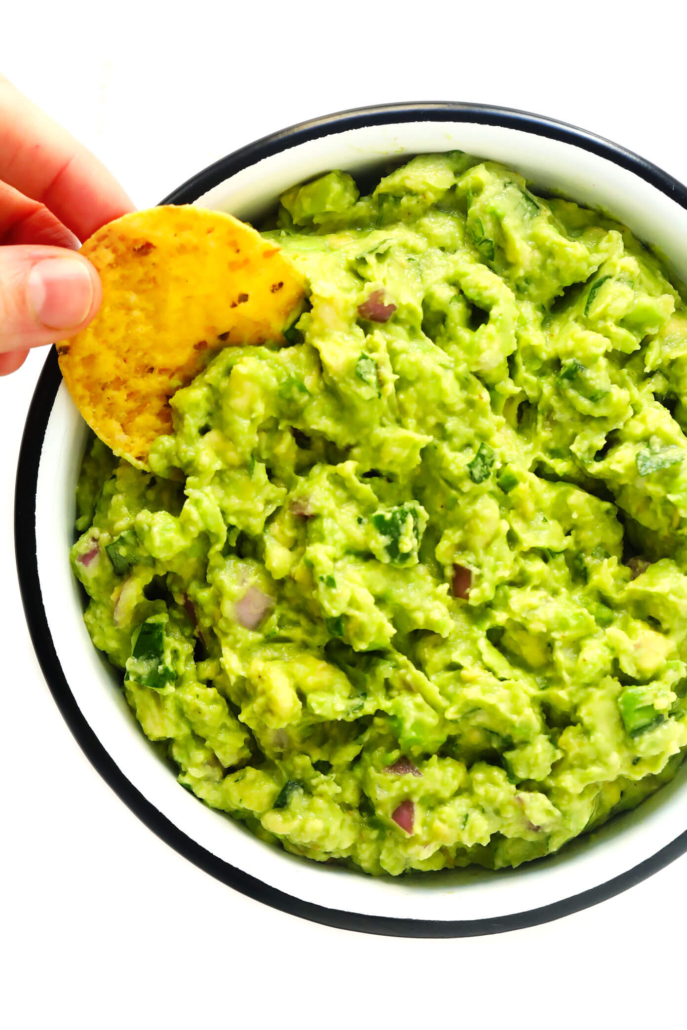
Chips and Guac. My oldest and youngest children LOVE guacamole. I can actually sneak more veggies in guac and they don’t even know. Here is my guac recipe below:
INGREDIENTS
- 3 ripe avocados, peeled and pitted
- 1 jalapeño, cored and finely diced (add more or less to taste)
- 1/2 cup finely diced red onion
- 1 tablespoon fresh lime juice
- 1/3 cup fresh cilantro leaves, finely chopped
- 1/2 teaspoon fine sea salt
- 1/4 teaspoon ground cumin
- (Optional: 1 roma tomato, cored and chopped)
INSTRUCTIONS
- In a medium mixing bowl, use a fork or a potato masher to mash the avocados to your desired consistency.
- Stir in the jalapeño, onion, lime juice, cilantro, salt, cumin until well-mixed. (If adding tomatoes, stir them in at the very end.)
- Taste and season with extra salt (plus extra lime juice, jalapeño and/or cilantro) if needed.
- Serve immediately and enjoy!
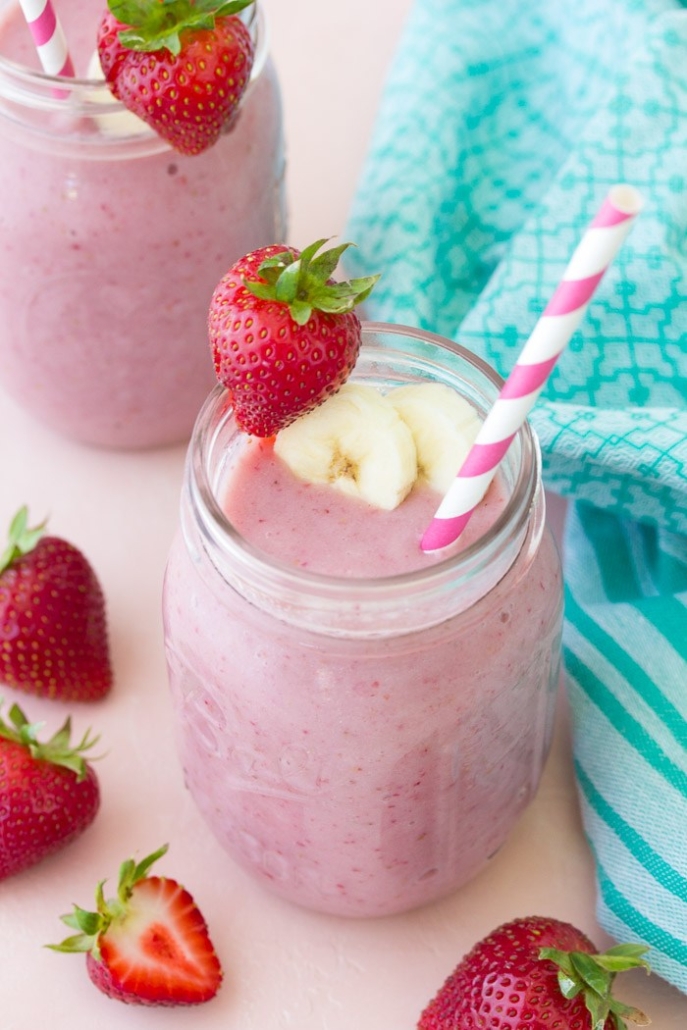
Smoothie. I hide spinach and flaxseed in all of my smoothies for the girls…even my husbands’ smoothies. Check this smoothie recipe out:
INGREDIENTS
- 2 cups frozen strawberries
- 1 fresh banana, peeled
- 1 cup milk (I used almond milk)
- 1 cup ice
INSTRUCTIONS
- Blend. Add all ingredients to a blender and pulse until smooth. If the mixture seems too thick, add in extra milk (or water). If it seems too thin, add in extra strawberries or banana.
- Serve. Serve immediately and enjoy!
Add In’s:
- Greens: Nowadays, I almost always toss in a large handful of fresh baby spinach or kale to make this a green smoothie (or technically, a brown smoothie) while I’m at it.
- Ginger: I also love adding in an inch or so of fresh ginger to give this smoothie a bit of an extra kick.
- Vanilla: You are also welcome to add in a 1/2 teaspoon or so of vanilla extract for extra flavor.
- Greek yogurt: Feel free to also add in 1/2 cup of plain (or vanilla) Greek yogurt to make this smoothie a bit more creamy.
- Powders: You can also add a scoop of protein powder, acai powder or maca powder.
- Seeds: I also typically add in at least a spoonful of either chia seeds, hemp seeds or ground flax seeds too.
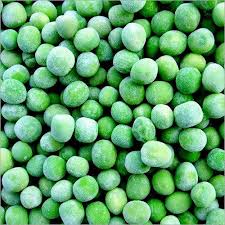
Frozen Peas. My kiddos LOVE frozen peas. In fact, instead of cooking them at dinnertime, I literally put frozen peas on their plates.
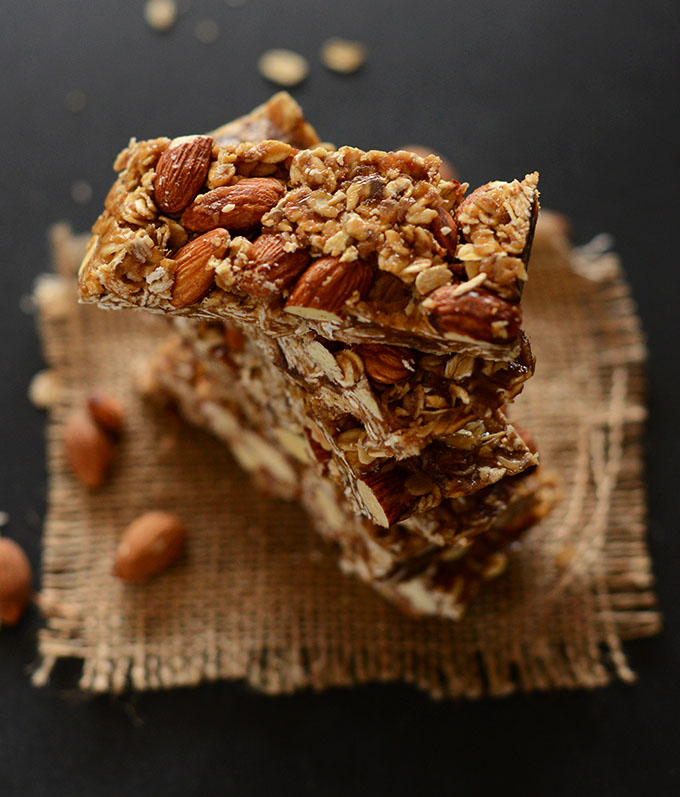
Homemade Granola Bars. Most store-bought granola bars (that my kids will eat) they don’t like…so I had to get creative. Check out the granola bar recipe here:
Ingredients
- 1 heaping cup packed dates (pitted // deglet noor or medjool)*
- 1/4 cup maple syrup or agave nectar (or honey if not vegan)
- 1/4 cup creamy salted natural peanut butter or almond butter
- 1 cup roasted unsalted almonds (loosely chopped // see instructions for roasting nuts)
- 1 1/2 cups rolled oats (gluten-free for GF eaters)
- Chocolate chips, dried fruit, nuts, banana chips, vanilla, etc. (optional additions)
Instructions
- Process dates in a food processor until small bits remain (about 1 minute). It should form a “dough” like consistency. (Mine rolled into a ball.)
- Optional step: Toast your oats (and almonds if raw) in a 350-degree F (176 C) oven for 10-15 minutes or until slightly golden brown. Otherwise, leave them raw – I prefer the toasted flavor.
- Place oats, almonds and dates in a large mixing bowl – set aside.
- Warm maple syrup (or agave or honey) and peanut butter in a small saucepan over low heat. Stir and pour over oat mixture and then mix, breaking up the dates to disperse throughout.
- Once thoroughly mixed, transfer to an 8×8-inch baking dish or other small pan lined with plastic wrap or parchment paper so they lift out easily. (A loaf pan might work, but will yield thicker bars // adjust size of pan if altering batch size).
- Press down firmly until uniformly flattened – I use something flat, like a drinking glass, to press down and really pack the bars, which helps them hold together better.
- Cover with parchment or plastic wrap, and let firm up in fridge or freezer for 15-20 minutes.
- Remove bars from pan and chop into 10 even bars (or 9 squares // as original recipe is written). Store in an airtight container for up to a few days. I kept mine in the freezer to keep them extra fresh, but it isn’t necessary.


0 Comments